

 Benjamin Carter
In the world of cross-border e-commerce, web scraping, and privacy protection, using the right proxy tool is essential. One such tool, the FoxyProxy browser extension, stands out for its rich functionality and ease of use. Whether you’re a developer, digital marketer, or everyday user concerned about online privacy, this guide will show you how FoxyProxy works, how to configure it, and how to combine it with Cliproxy—a high-quality residential proxy provider for enhanced stability and anonymity.
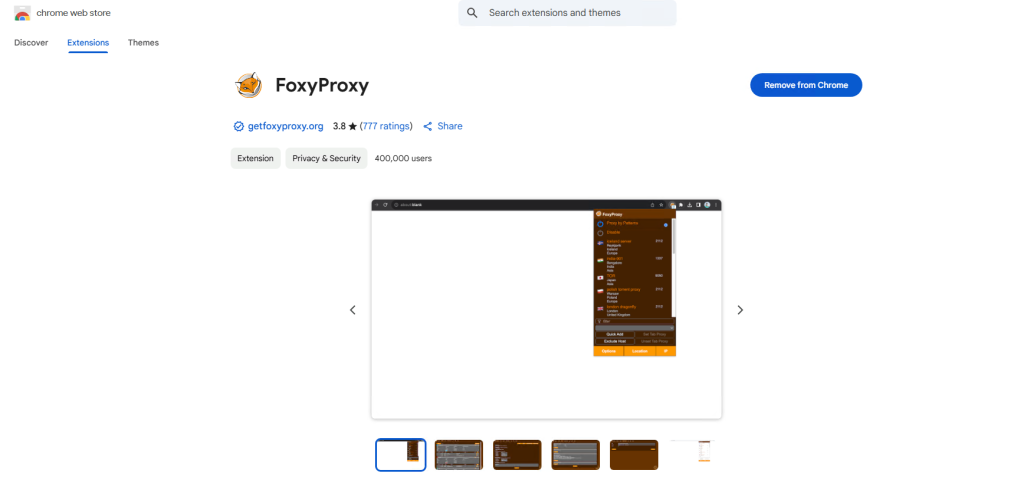
FoxyProxy is a browser extension for Chrome, Firefox, and other Chromium-based browsers that helps users manage multiple proxy connections. It supports rule-based routing, automatic switching, and a host of configuration features, making it a favorite among professionals who regularly work with proxies.
Define URL patterns and assign different proxies to each rule. Once configured, the extension will automatically route traffic through the designated proxy based on your predefined rules.
Manage multiple proxy configurations and switch between them with just a few clicks.
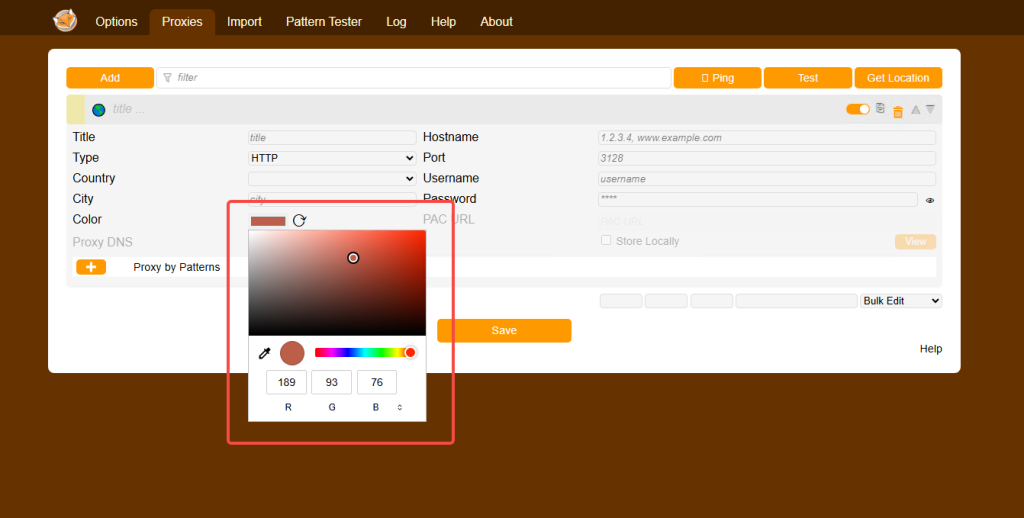
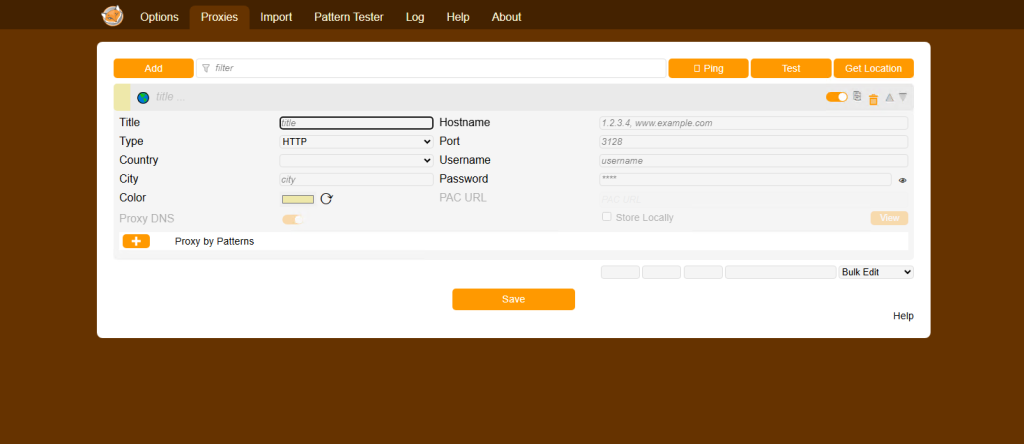
Assign colors to different proxies or rules for quick visual identification.
Easily back up your configurations or transfer them to another device.
Track all proxy activity through detailed logs, helpful for troubleshooting.
Automatically generate PAC (Proxy Auto-Config) files, allowing you to use the same rules across browsers and devices.
Step 1: Install the Extension
Go to the Chrome Web Store and search for “FoxyProxy Standard.” Click “Add to Chrome.”
Step 2: Add a Proxy
In the extension settings, navigate to the “Proxies” tab and click “Add New Proxy.” Input the IP address, port, and proxy type (e.g., HTTP, SOCKS5).
Step 3: Create URL Patterns
Go to the “URL Patterns” tab and define which URLs should use which proxies. You can whitelist or blacklist specific domains.
Step 4: Save and Test
Save your settings and check if your IP has changed using a site like WhatIsMyIP.com.
FoxyProxy is powerful, but combining it with a reliable proxy provider like Cliproxy unlocks its full potential.
Residential IP Coverage in 200+ Countries: Perfect for targeting specific regions.
Highly Anonymous & Stable: Real residential IPs help avoid bans and detection.
Custom Node Selection: Choose country- or city-level nodes based on your audience.
Flexible Plans & Developer Tools: Includes browser extensions, API access, and more.
Free Trial Available: Test before you commit.
Pairing FoxyProxy with Cliproxy means you get a seamless, professional-grade proxy solution for all your social media, marketing, and research needs.
If you’re managing multiple social accounts, doing localized testing, or simply want more control over your web presence, FoxyProxy + Cliproxy is a smart combo. You get:
Rule-based traffic routing
Stable, real-user residential IPs
Easy integration and full browser support
Start with the free trial of Cliproxy today and unlock smarter, safer proxy management with FoxyProxy.

Benjamin Carter 2025-06-08 13:53 · 12 min read

Benjamin Carter 2025-05-26 13:14 · 8 min read

Benjamin Carter 2025-03-23 08:46 · 10 min read